
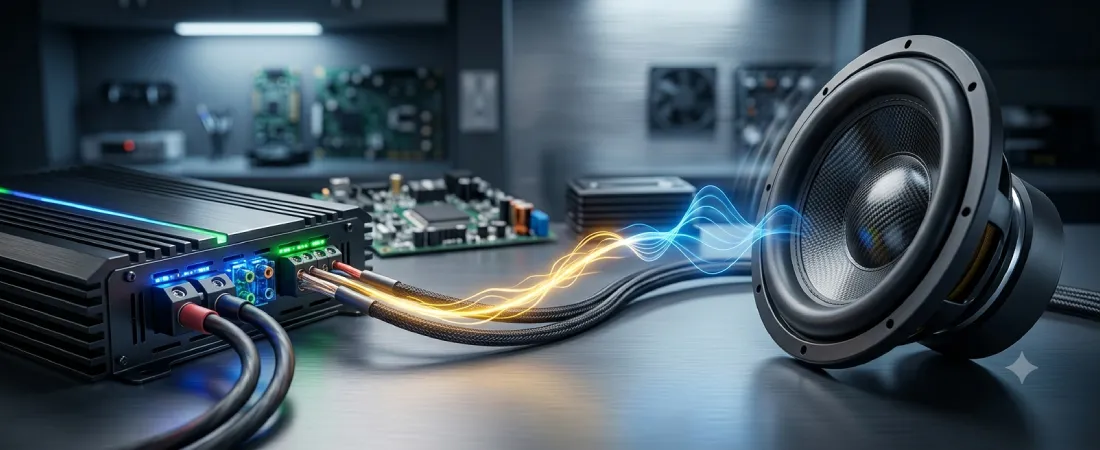
Pairing an amplifier with a subwoofer is one of the most critical steps in building a car audio system. Many beginners make the mistake of choosing an amplifier based on the “Max” or “Peak” wattage printed on the box, or they assume any amplifier will work as long as it turns on.
In mobile electronics, a subwoofer and its amplifier must be treated as a single closed loop of current and resistance. If you mismatch these components, you risk starving your amplifier of current, driving your signal into clipping, or physically destroying your subwoofer’s voice coils. Matching them correctly requires a systematic, step-by-step approach to calculating continuous power and total impedance.
Phase 1: Calculating the Total Power Target (The RMS Rule)
Before looking at amplifiers, you must determine the continuous power requirements of your subwoofer system. You should always ignore peak power ratings and focus exclusively on RMS (Root Mean Square) power, which represents the continuous thermal limit of the speaker.
If your system utilizes multiple subwoofers, you must calculate their cumulative power handling:
- The Formula: Total RMS Target = Number of Subwoofers × RMS Rating of Each Subwoofer.
- Example: If you are installing two subwoofers, and each is rated at 400W RMS, your target is a system that can handle 800W RMS continuous power.
Designing a system around peak ratings will quickly result in thermal overload and voice coil burnout. To learn more, read our foundational guide on RMS vs. Peak Power.
Phase 2: Determining Impedance and Voice Coil Configurations
An amplifier does not produce a fixed amount of wattage; its power output changes depending on the electrical resistance, or impedance, presented by the subwoofer system. To match them, you must understand Subwoofer Basics and how voice coils are configured.
Subwoofers are manufactured with either a Single Voice Coil (SVC) or Dual Voice Coil (DVC), typically rated at 2 ohms or 4 ohms. How you wire these coils (in series or parallel) dictates the final load the amplifier “sees”:
- Single Voice Coil (SVC): Presents a fixed impedance. One SVC 4-ohm sub can only ever present a 4-ohm load to the amplifier.
- Dual Voice Coil (DVC): Offers wiring flexibility. A single DVC 4-ohm sub can be wired in parallel to create a 2-ohm load, or in series to create an 8-ohm load.
Before choosing an amplifier, you must calculate your final wired impedance. Your goal is to find a monoblock amplifier that is rated to output your target RMS power at that specific final impedance load. For a deep-dive on resistance, read our guide on Ohms and Impedance.
Phase 3: Finding the Right Power Match (The Headroom Sweet Spot)
Once you know your total RMS target and final impedance, you can select your amplifier. A safe and highly efficient car audio system operates on a power matching ratio of 75% to 150% of the subwoofer’s total RMS rating.
Contrary to popular belief, having an amplifier that is slightly more powerful than your subwoofers is safer than using an underpowered one:
- The Headroom Advantage: If you have an 800W RMS subwoofer system, pairing it with a 1,000W RMS amplifier provides “headroom.” The amplifier can easily reproduce massive, low-frequency musical peaks cleanly without straining or distorting.
- The Underpowering Trap: If you use a 400W RMS amplifier to drive that same 800W system, you will likely crank the volume or the gain to get more output. This forces the amplifier to run out of voltage, causing the signal to clip. Clipping converts the smooth AC wave into a destructive square wave, rapidly generating excessive heat that melts the subwoofer’s voice coils.
Phase 4: Setting the Safe Ceiling (Gain Staging and Filters)
Once the physical hardware is matched, the final step is calibration. High-performance subwoofers require specific electronic boundaries to prevent physical damage:
- Calibrate the Gain: The gain control is not a volume knob. It must be matched to the output voltage of your head unit. Set the gain cleanly using the gain setting multimeter method to ensure the amplifier never clips at high volumes.
- Apply a Low-Pass Filter (LPF): Set your LPF between 80Hz and 100Hz. This prevents your subwoofer from attempting to play midrange vocals, which muddies the sound and wastes power.
- Use a Subsonic Filter: If your subwoofer is housed in a ported enclosure, apply a subsonic filter set roughly 3Hz to 5Hz below the port’s tuning frequency. This prevents the speaker from “unloading” and tearing itself apart mechanically on ultra-low frequencies.
Recommended Video Resources
How to Choose the Right Subwoofer Amp
A practical demonstration showing how to calculate system impedance, manage DVC configurations, and match RMS ratings safely.
Matching Subwoofers and Amps
Explains how Class D efficiency, mono amplifier stability, and ohm loads interact during installation.
Common Mistakes
- Matching a Mono Amp to the Wrong Impedance: Buying a 1,000W monoblock amplifier that produces its maximum power at 1 ohm, but wiring your subwoofers to a 4-ohm load. At 4 ohms, that amplifier may only produce 250W, severely underpowering your system.
- Using Multi-Channel Amps for Heavy Bass: Attempting to power multiple low-impedance subwoofers by bridging a 2-channel or 4-channel amplifier. These amplifiers are rarely stable below 4 ohms when bridged, leading to overheating and immediate shutdown.
- Ignoring the Vehicle’s Charging System: Installing a 1,500W RMS amplifier without upgrading the vehicle’s electrical infrastructure. If your alternator cannot supply enough current, the system voltage will drop, causing the amplifier to clip even at moderate volumes.
References
- Crutchfield Learning Center – How to Match Subwoofers and Amplifiers
- Sonic Electronix Learning Center – Subwoofer Power and Enclosure Matching Guide
- JL Audio School of Sound – Understanding Audio Fundamentals and Amplifier Loads